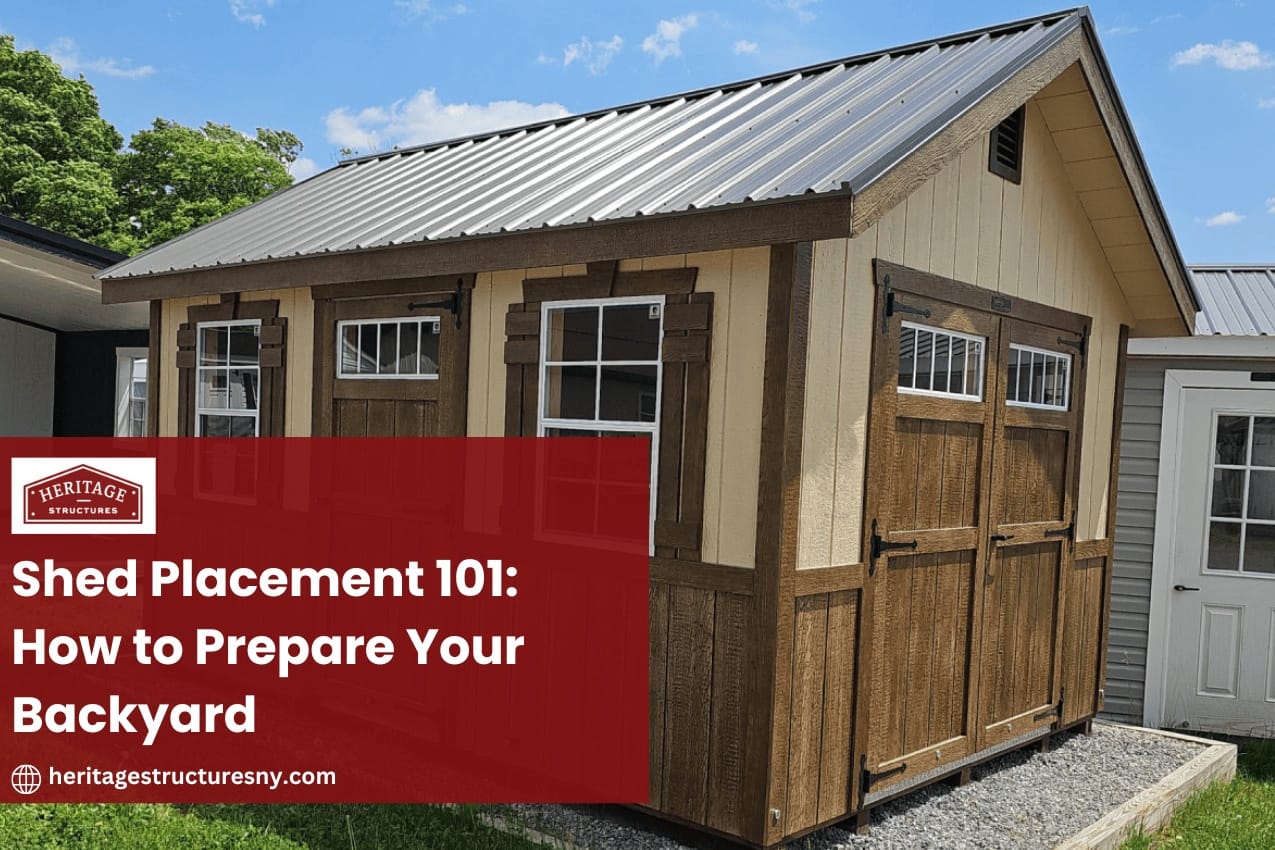
Adding a shed to your backyard is a great way to boost storage, improve property value, and create flexible space for hobbies, work, or relaxation. But before you dive into picking paint colors or customizing your interior, there’s one crucial step that lays the foundation for everything else—shed placement.
At Heritage Structures, we believe proper shed placement and preparation are just as important as the shed itself. It ensures a long-lasting, beautiful, and functional structure that meets your needs and stands the test of time.
Let’s walk you through everything you need to know about preparing your backyard for a shed, with expert tips from our team and insights tailored to the unique needs of New York property owners.
Why Proper Shed Placement Matters
Before getting into the “how,” it’s important to understand the “why.” Strategic shed placement isn’t just about where it looks nice—it directly affects:
Drainage and Longevity: Poor placement can lead to water pooling around your shed, causing rot or structural issues.
Accessibility: A well-placed shed means easier access, especially in winter when snow piles up.
Aesthetics and Property Value: A well-situated shed can complement your home and landscaping.
Zoning Compliance: Correct placement keeps you within local codes and HOA regulations.
With the right guidance, preparing your yard doesn’t have to be overwhelming. In fact, our team at Heritage Structures helps customers like you through this process every day—so you can enjoy your shed without the stress.
Step 1: Check Local Zoning Laws and HOA Rules
Before anything touches the ground, check with your local municipality or HOA about rules for shed placement.
Common regulations may include:
Minimum distance from property lines (known as setback requirements)
Height and size restrictions
Foundation types
Shed usage rules (especially for studio sheds or home offices)
At Heritage Structures, we work with customers to ensure compliance with local building codes. When in doubt, give your town’s code enforcement office a call—or contact us and we’ll help point you in the right direction.
✅ Pro Tip: Even if a permit isn’t required, it’s still wise to follow local guidelines to avoid future complications.
Step 2: Choose the Right Spot in Your Backyard
When deciding where your shed will go, consider both practicality and aesthetics. Ask yourself:
Is the ground level or sloped?
How will water drain in this area?
Is there enough clearance to deliver and install the shed?
Will the shed be easily accessible from your home?
How will it look from the street or inside your house?
Consider Sunlight and Landscaping
Placing your shed where it receives some sun helps prevent mold and mildew. But too much sun can also fade siding or make the shed too hot—especially if you’re using it as a workspace.
Don’t forget to look at trees, shrubs, and root systems that may impact your shed over time.
🛠 Heritage Tip: We offer custom shed designs with multiple window and ventilation options, so placement can be flexible without sacrificing comfort.
Step 3: Level and Clear the Ground
A stable, level foundation is the backbone of a well-built shed.
Start by:
Removing sod, rocks, and debris
Cutting back any overhanging branches
Marking the shed’s dimensions with stakes and string
Using a level to check the slope
If your site isn’t already level, you may need to do some digging or use gravel to even it out. For sloped properties, you might consider a gravel pad or concrete blocks to create a solid, even base.
Step 4: Choose the Right Shed Foundation
At Heritage Structures, we recommend several foundation types depending on your shed’s size and purpose.
Common foundation types include:
1. Gravel Pad
Affordable and excellent for drainage
Ideal for most portable sheds
Must be properly leveled and framed with pressure-treated lumber
2. Concrete Slab
Best for heavier structures or sheds with utilities
Offers extreme durability and long-term stability
3. Concrete Blocks or Pavers
Great for small or temporary sheds
Cost-effective and easy to install
If you’re unsure which foundation is best, our team is happy to guide you based on your specific shed model and property conditions.
📐 Try Our 3D Shed Builder Tool to design your ideal shed and see how it will fit in your space!
Step 5: Plan for Utilities (Optional)
If your shed will be used as an office, studio, or workshop, plan early for utilities such as:
Electricity
Plumbing
Wi-Fi / Internet
Coordinate with licensed professionals to ensure all trenching and connections are done safely and up to code. We offer sheds designed for utility hookups, making installation smoother on your end.
Step 6: Prepare for Delivery and Installation
The delivery process is simple—but the right prep ensures smooth installation.
Things to consider:
Access for delivery truck or shed mule
Overhead clearance for trees or wires
Gate width for fence access
Temporary relocation of garden furniture or obstacles
Our Heritage Structures delivery crew is highly trained to install sheds with care, precision, and minimal disturbance to your yard.
📦 Did you know? We offer free local delivery on most models! Contact us to find out if you qualify.
Step 7: Final Touches and Landscaping
After the shed is placed, take time to integrate it beautifully into your yard.
Ideas for enhancing your shed area:
Add mulch or gravel around the base for a finished look and better drainage
Install a stepping stone or paver path to the door
Plant shrubs or flowers to complement the shed
Install solar lights or motion-sensor lighting
These small additions turn a storage solution into an eye-catching feature.
Why Choose Heritage Structures?
We’re more than shed builders—we’re your backyard partner.
At Heritage Structures, we’ve been helping New Yorkers transform their outdoor spaces since 2004. With our quality craftsmanship, attention to detail, and personalized service, we’re committed to delivering not just a shed—but a lasting investment.
Here’s why homeowners choose us:
Customizable shed options with painted Smart Siding, metal or shingle roofs
Rent-To-Own programs for flexible financing
Top-tier customer service and guidance every step of the way
Online 3D Shed Builder Tool for real-time customization
When you’re ready to take the next step, we’re here to help.
💻 Design your dream shed today with our 3D Shed Builder Tool! Start building now
📞 Need help or have questions? Contact us now and one of our friendly team members will be happy to assist you.
A Little Planning Goes a Long Way
Shed placement may seem like a small detail, but getting it right can make all the difference in functionality, appearance, and longevity. With a bit of planning—and a trusted shed provider like Heritage Structures—you’ll be well on your way to enjoying a new level of organization and convenience in your backyard.
We’re here to make the process as smooth as possible, from choosing the right shed to preparing your site and delivering the final product with care.
Whether you’re dreaming of a classic garden shed, a backyard studio, or just extra storage, we’re ready to bring your vision to life.
📢 Ready to Get Started?
👉 Use our 3D Shed Builder Tool to design your perfect structure.
👉 Contact us today for a free consultation.

